Introduction
Hey there! 👋
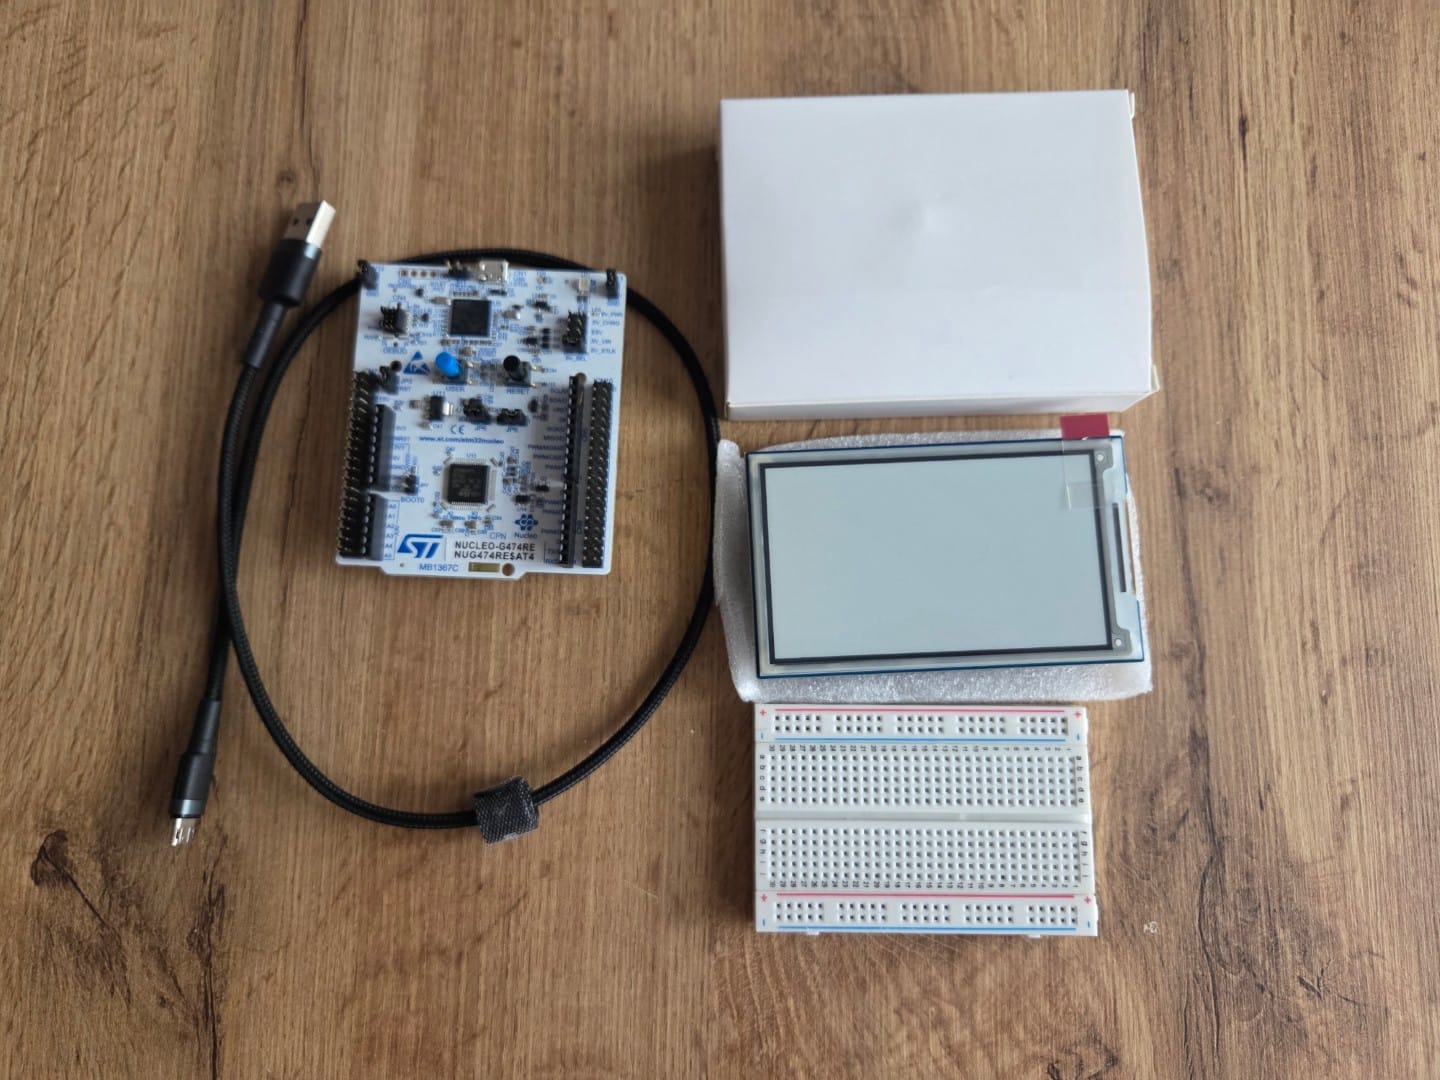
Today I want to walk you through one of my recent side projects: connecting an STM32 Nucleo G474RE board with a 3.7-inch Waveshare e-paper display. Basically, I wanted to understand how these two pieces of hardware talk to each other, how to configure CubeMX, and how to actually render something meaningful on the screen.
Before we dive into wiring and code, let’s set the stage:
- What’s a Nucleo board?
The STM32 Nucleo family is a series of development boards from STMicroelectronics. They’re built around STM32 microcontrollers and are often used in professional embedded projects. Compared to Arduino, they give you much more control over peripherals and low-level features. Compared to ESP32, STM32 is less about Wi-Fi/Bluetooth and more about raw performance, deterministic timing, and industrial-grade reliability 🚀. - What’s special about e-paper?
The Waveshare 3.7’’ e-paper display is basically a Kindle-style screen. It reflects light instead of emitting it, so it’s super easy on the eyes. Once you render an image, it stays there without consuming power, which makes it perfect for battery-powered or always-on projects (weather stations, dashboards, price tags, etc.).
The Theory Part
Before touching CubeMX, let’s quickly cover some theory.
- LUT (Look-Up Table)
Defines the waveform of how black/white particles move inside the e-paper. Without the right LUT, you get weird artifacts or ghosting. Something like a list of instructions for display which tell how to handle our data. - E-Paper Display Modes:
- GC (Global Clear) – full update, includes the “blink”, super clean but slow.
- DU (Direct Update) – no blink, much faster, but leaves ghosting.
- A2 – black & white only, fastest refresh, but ghosting gets noticeable. Great for text editors or terminals.
- Communication: SPI
The display talks via SPI (Serial Peripheral Interface). It’s simple, fast, and widely supported. - GPIO Pins:
- DC – tells the display if the data is a command or actual data.
- BUSY – goes high when the display is busy, so we don’t spam it with new data while it’s still refreshing.
Starting a New STM32 Project
I fired up STM32CubeMX, which is a graphical tool from ST for configuring microcontrollers. It saves you from writing endless boilerplate code.
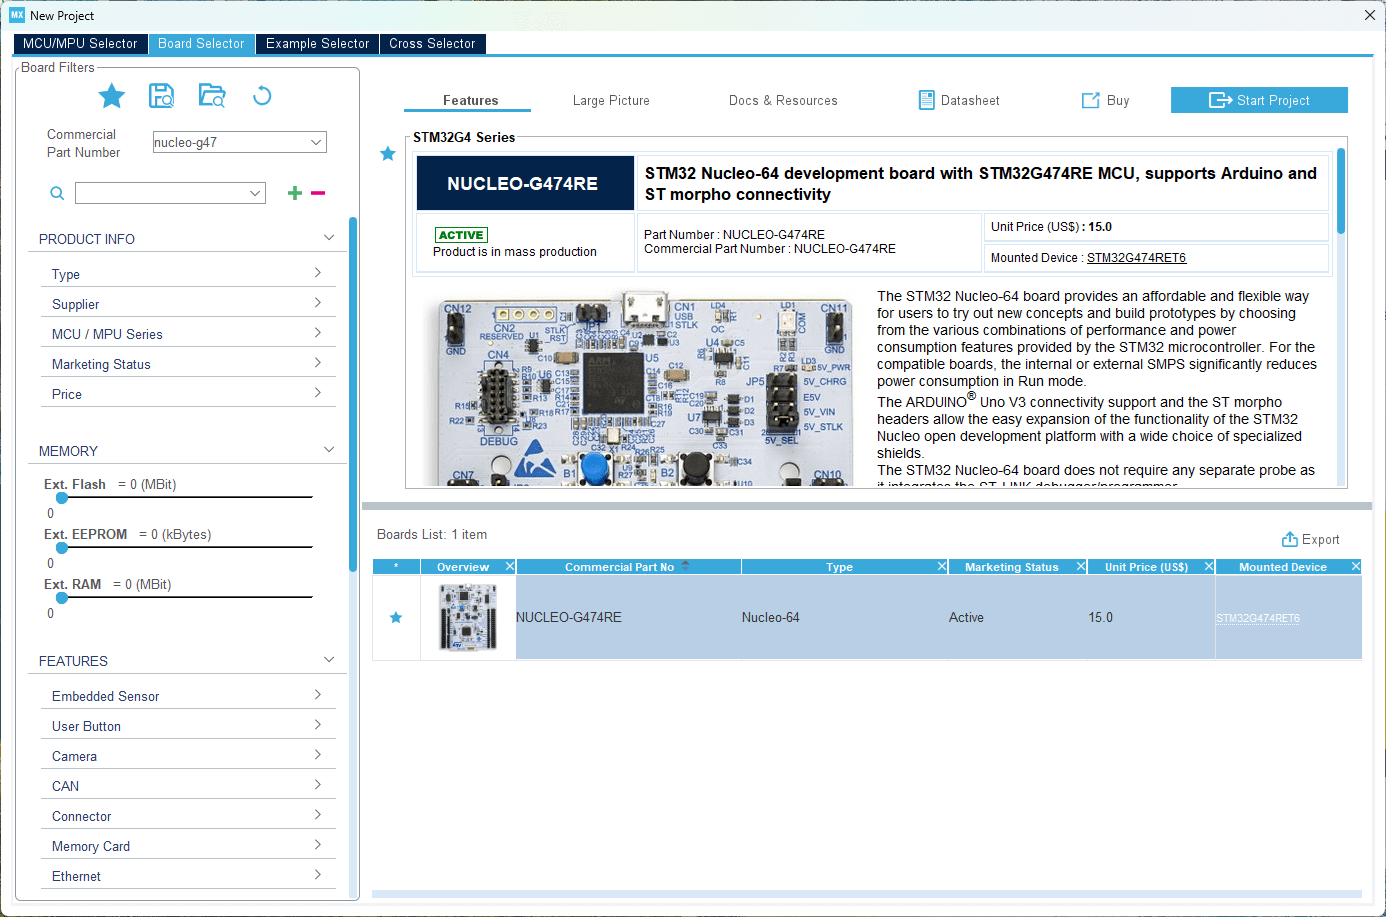
- Create a new project and select the Nucleo G474RE board.
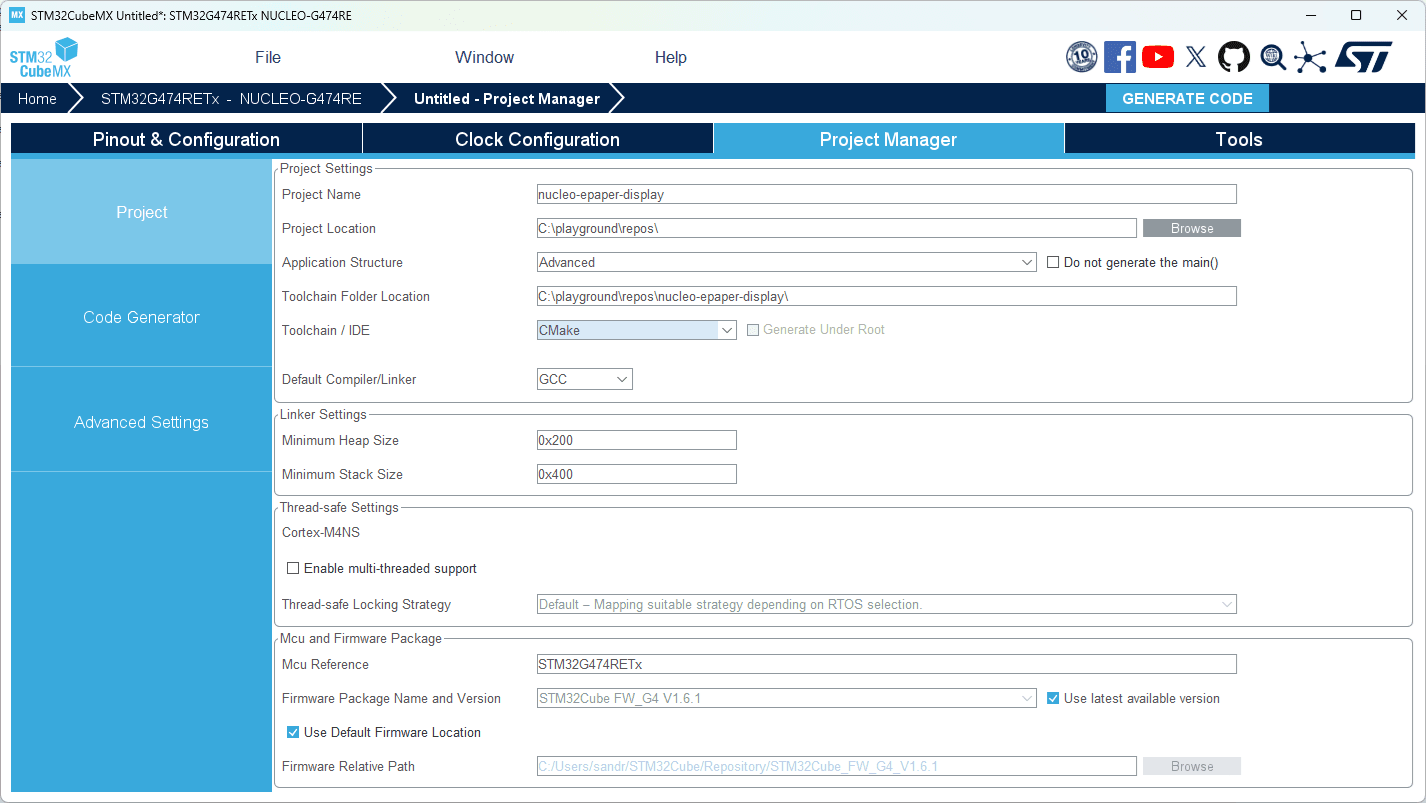
- Change the toolchain to CMake/GCC (this makes it easier to work with VSCode instead of old Eclipse).
- In code generation settings, I check “Generate peripheral initialization as a pair of
.c/.hfiles per peripheral” – this keeps code modular.
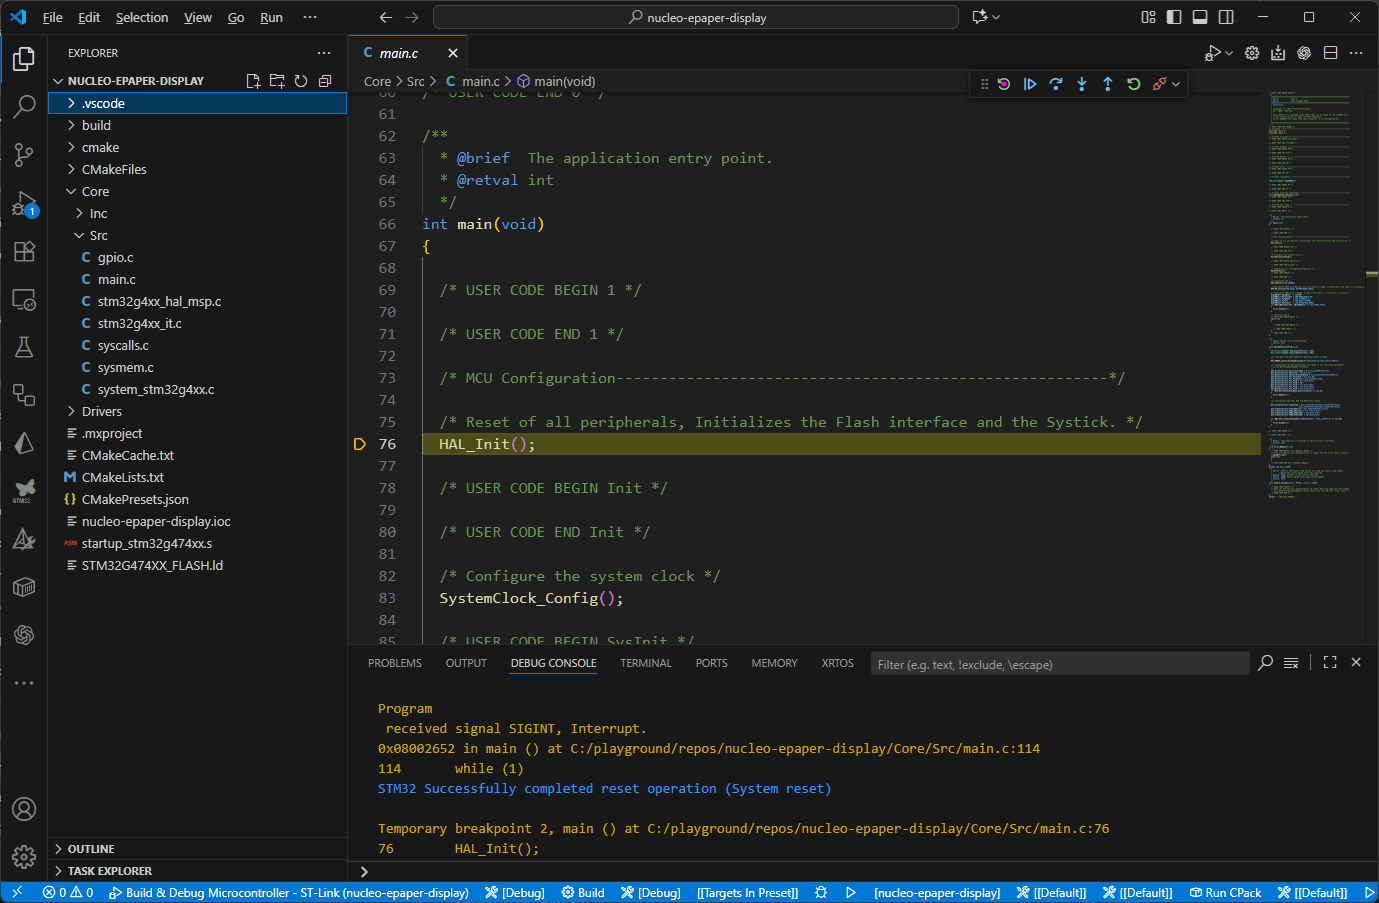
After generating, I just opened VSCode, imported the project with the STM32 extension, pressed F5, and boom – debugging worked out of the box ✅.
Wiring the Display
Free bonus content!
⚡ Want to get straight to better, refactored driver for free?
Sign up for my newsletter!
By joining my newsletter, you’ll unlock exclusive bonuses for this tutorial:
– The full, refactored main.c file with extra comments and LVGL integration (drawing, fonts, etc.)
– Access to my complete repository with all STM32 + Waveshare e-paper integration code
👉 Sign up and grab the ready-to-use project files.
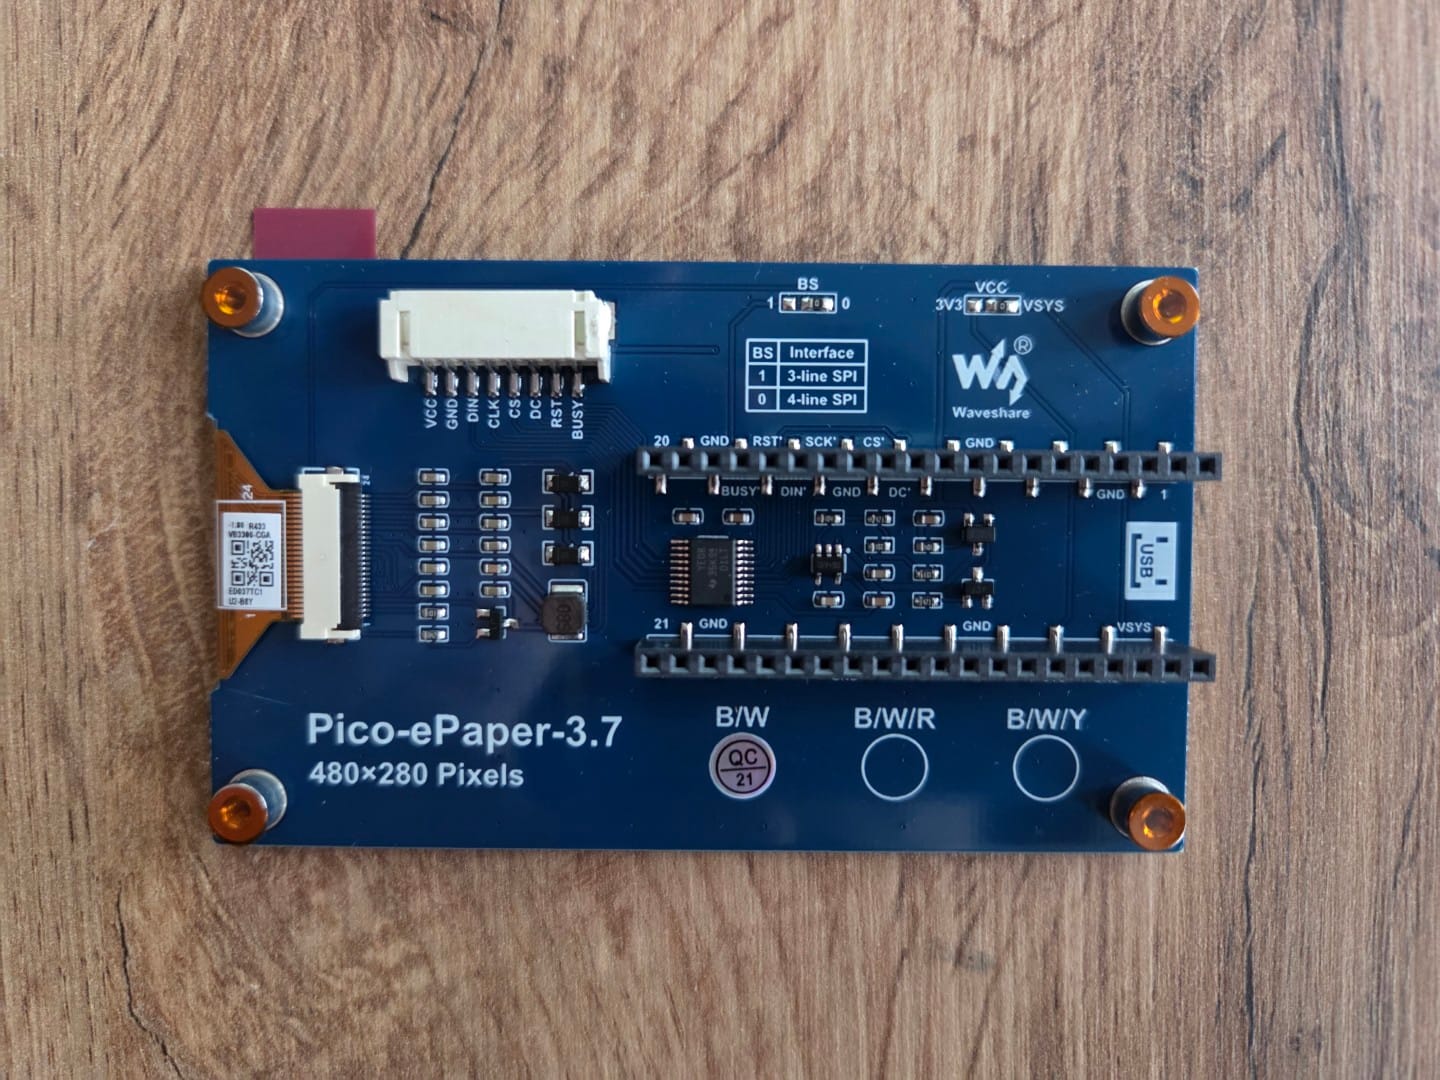
The e-paper needs 8 connections:
- Power:
VCC,GND, andRST(reset). The Nucleo provides 3.3V which is enough. - SPI:
CS,MOSI,SCK. - Control:
DC(data/command) andBUSY(status).
RST is active-low, meaning you pull it down to reset the screen. BUSY is read-only, letting you know when the display is still updating.
Configuring SPI and GPIO
SPI
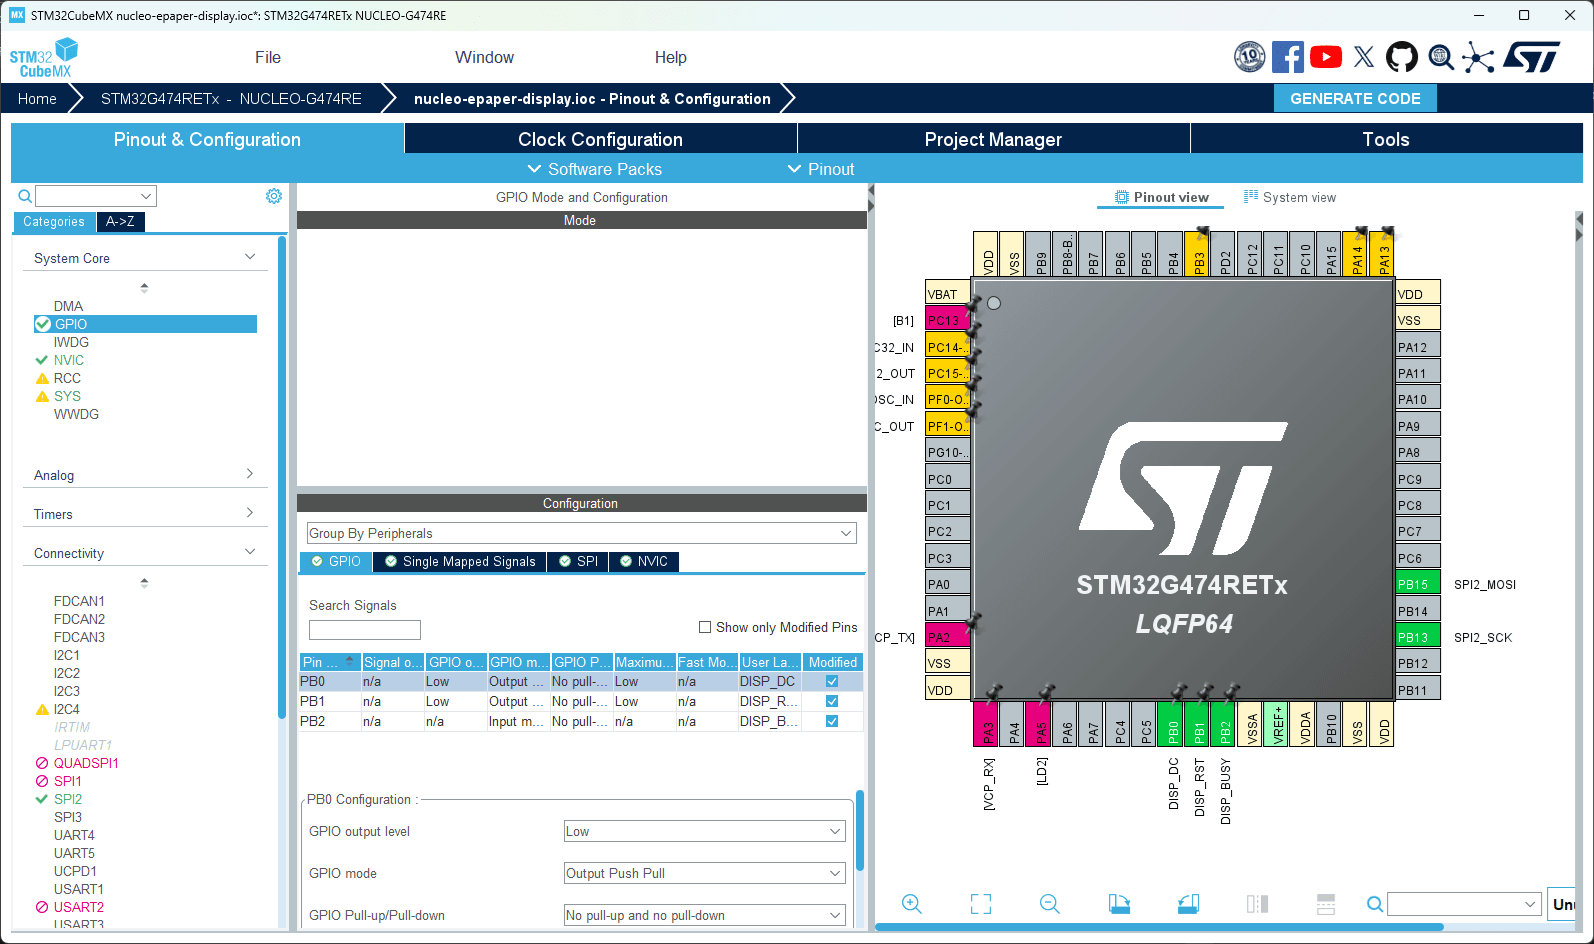
SPI is basically a fast serial bus with a clock line and data line. I enabled SPI2 in CubeMX as “Transmit Only Master” with 8-bit data size.
CubeMX suggested:
PB15→ MOSIPB13→ SCK
I set the prescaler to 64, which gave me around 2.65 Mbit/s. More than enough for e-paper.
Sure, the “clean” way would be to tune the MCU clock tree properly, but for a tutorial project, this shortcut works fine 😉.
GPIO
For GPIO pins, I did:
PB0,PB1,PB14→ Output (DC, RST, CS).PB2→ Input (BUSY).
My Adventure with the Driver
Here’s where things got interesting.
Like always in my hobby projects, I decided to “do it the hard way” and write a driver from scratch instead of just copy-pasting one. My logic: init sequence → load LUT → drawing window → send framebuffer.
The first test was a success: I managed to render a checkerboard pattern. Next step: partial rendering. That’s when I hit a wall.
Partial update normally works by setting a drawing window (x, y, width, height), loading a buffer, maybe switching LUT mode, and sending it over. But for this display… it didn’t. I assumed my code was wrong, so I tried the official Waveshare driver. Same result – broken.
After hours of digging, I found this gem inside the official driver comments:
/******************************************************************************
function :  Sends part the image buffer in RAM to e-Paper and displays
notes:
 * You can send a part of data to e-Paper,But this function is not recommended
 * 1. Xsize must be as big as EPD_3IN7_WIDTH
 * 2. Ypointer must be start at 0
 ******************************************************************************/
int EPD_3IN7_1Gray_Display_Part(const UBYTE *Image, UWORD Xstart, UWORD Ystart, UWORD Xend, UWORD Yend)So yeah… partial update is “fake”. It only works if the X width = full screen and Y starts at 0. That explained everything 🤦.
I eventually hacked it together, but only if the previous command was not GC and if the last update was a DU of the whole screen. Messy, but functional.
Also, the official driver had bugs: full refresh didn’t reset the drawing window, so switching between full and partial modes caused garbage. I fixed those in my version.
The Driver
I adapted the Waveshare driver, cleaned it up, and added some fixes. I won’t paste the entire file here (it’s long), but here’s the idea:
epd_3in7.h→ configuration section with pin definitions.epd_3in7.c→ STM32 integration + LUT handling.
You just need to edit the configuration part.
The Program
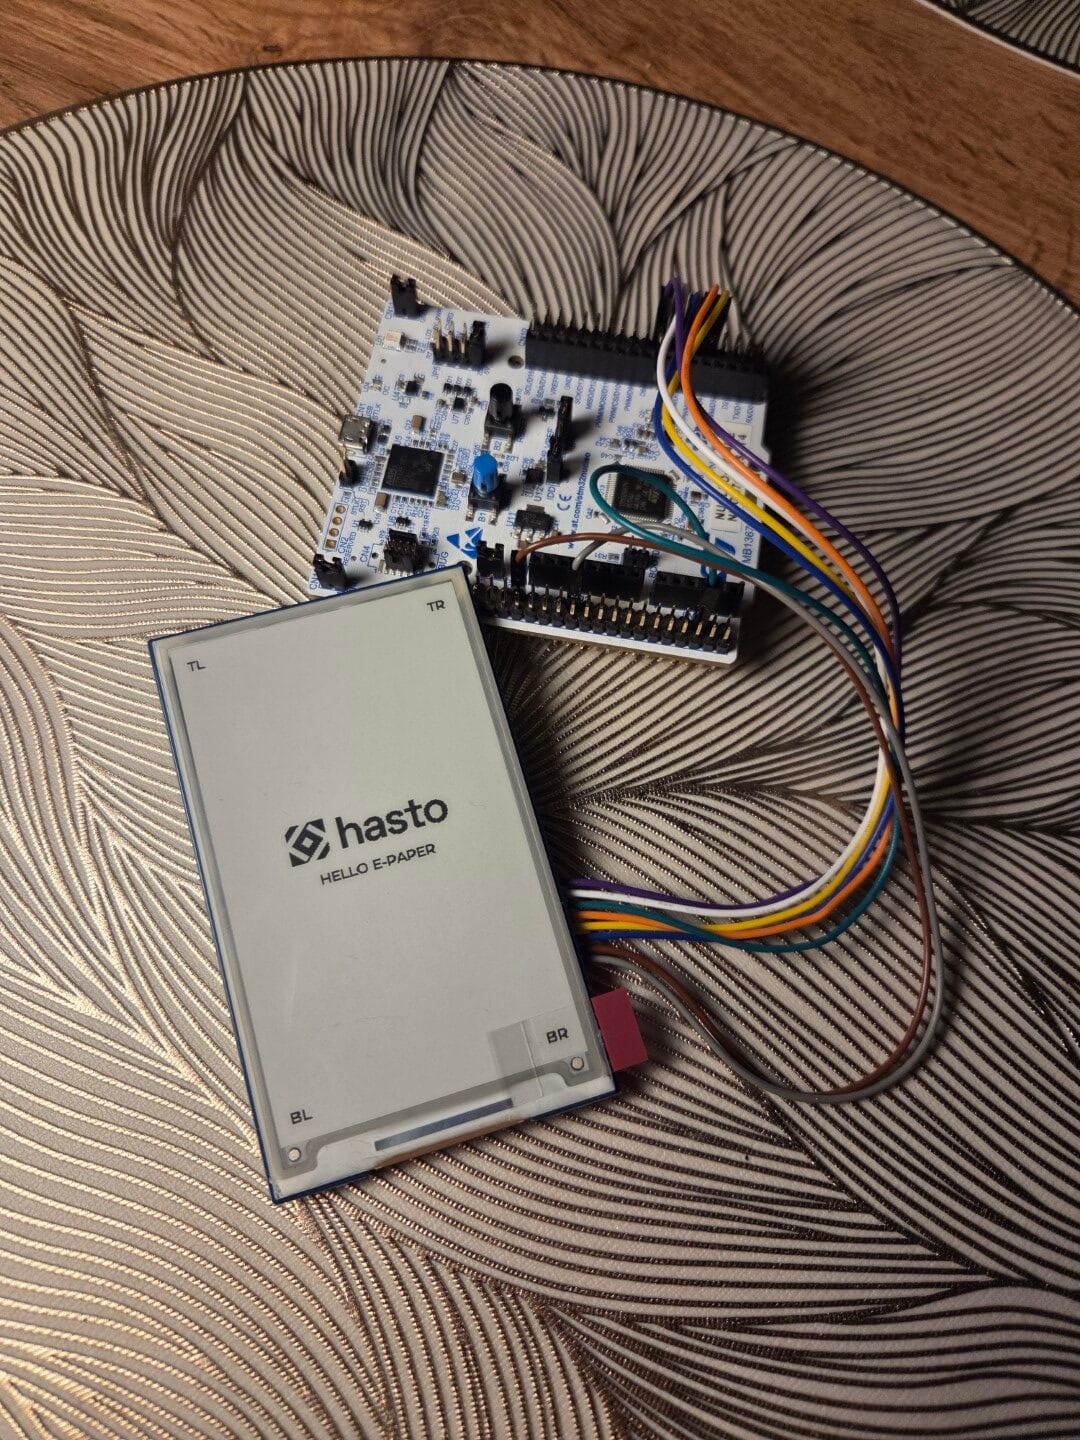
In main.c, I wrote a little demo:
- Clear the screen in GC mode.
- Draw a checkerboard in GC and DU mode.
- Toggle between black/white square in the center using “partial” updates.
  EPD_3IN7_1Gray_Init();
  EPD_3IN7_1Gray_Clear(1); // 1 = GC

  UBYTE black = 1;              // starting with black square
  UBYTE partial_since_full = 0; // count partial updates since last full refresh
  UBYTE toggles = 0;            // total square color toggles

  // One-time "top full" push so partials won't blank the rest
  draw_checker_full();
  EPD_3IN7_1Gray_Display(frame_bw, 1); // GC
  EPD_3IN7_1Gray_Display(frame_bw, 2); // DU

  while (1)
  {

// (...)This way, we could test:
- Full refresh works.
- DU mode leaves ghosting.
- Fake partial updates behave as expected, but it’s faster.
The official driver also supports 4-level grayscale, but I didn’t test it, so no promises there.
Conclusion
This little project taught me more than I expected. I got the Nucleo talking to an e-paper, learned about the quirks of partial updates, and discovered a few bugs in the official driver along the way.
If you want to experiment yourself, grab the driver I fixed, wire up the display, and try rendering your own stuff.
If you want something better – I recommend to use my refactored version of the driver (newsletter). In official driver LUTs are re-sent unnecessarily, drawing positions aren’t very low-level, and abstraction is leaky. Ideally, there should be a core low-level driver and then a helper class for higher-level rendering.
