Introduction and Project Requirements
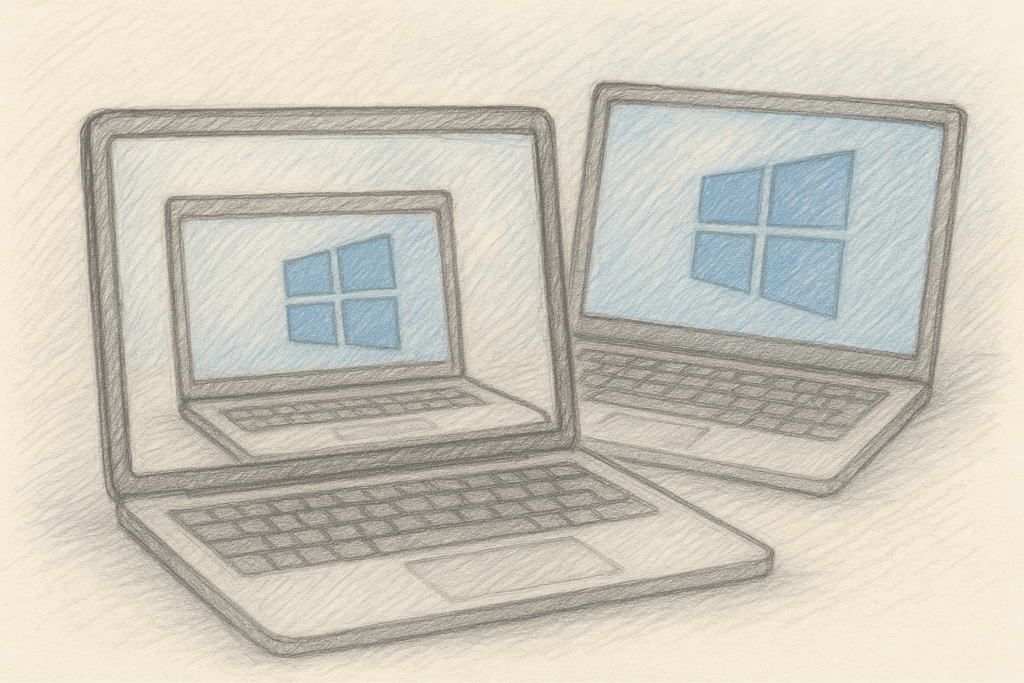
A few months ago, I received a fascinating project request from one of my clients. For specific reasons I can’t disclose, they needed a custom in-house solution for screen-sharing from one of their workstations. The critical requirement was that the streaming needed to have extremely low latency to ensure a smooth and responsive user experience.
This project posed several interesting technical challenges, combining real-time screen capture, efficient video encoding, and network transmission – all while maintaining minimal delay. The client needed a solution that would outperform commercial products for their specific use case, with performance being the absolute priority.
Having worked with multimedia programming before, I was excited to tackle this challenge and create a solution that would perfectly fit their requirements. In this article, I’ll walk you through the development process, focusing particularly on the video streaming aspects and the optimizations needed to achieve near-real-time performance.
System Architecture Planning
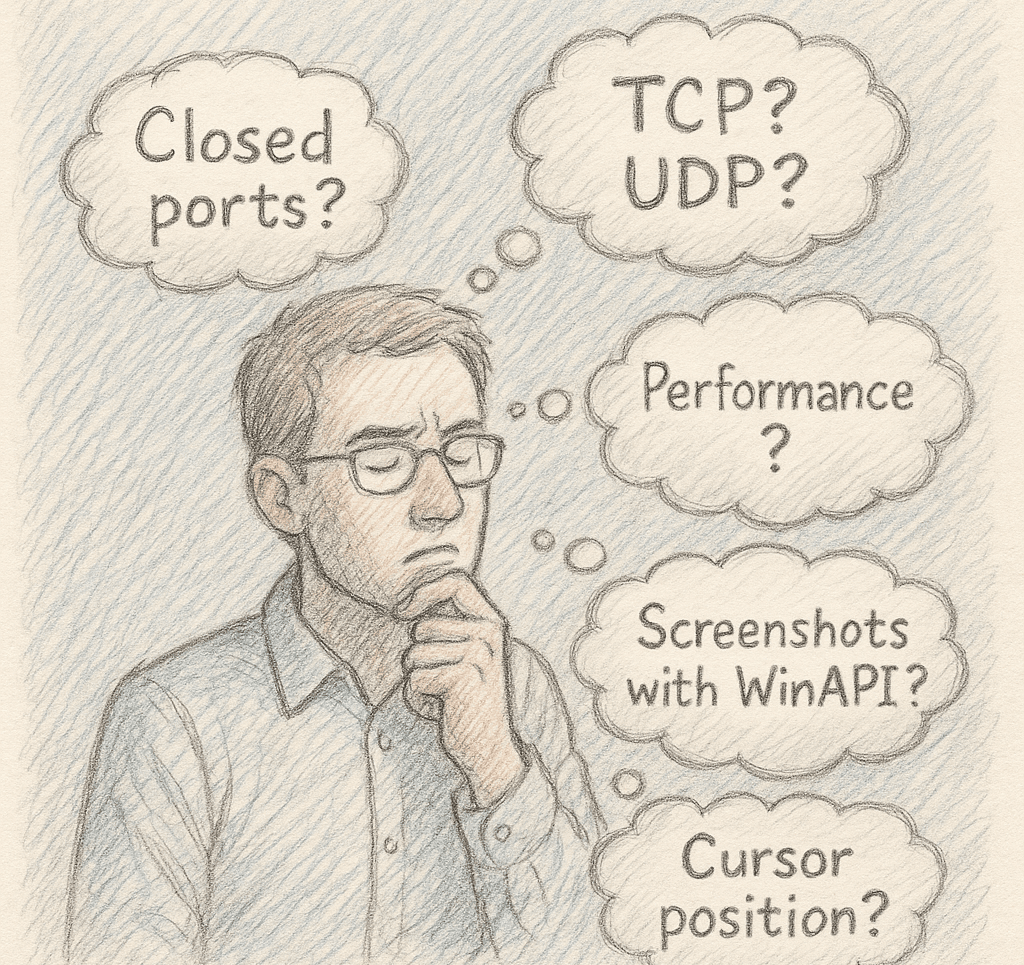
Before diving into code, I needed to map out the system architecture. The key questions I had to address included:
- How to capture the screen and cursor efficiently
- How to transmit the captured data to another computer:
- Direct connections weren’t possible due to closed ports
- Sending full screenshots would be prohibitively inefficient
- Which network protocols would be most appropriate
- How to display the screen on the receiving computer
- How to transmit and execute mouse movements and keyboard inputs
After careful consideration, I determined that I would need three separate applications:
1. Client app on PC1 (C#?) – The controlling computer
2. Relay Server (C++) – Hosted on a server to manage connections
3. Agent app on PC2 (C++) – The computer being controlled
The Relay Server would play a crucial role by managing connections and facilitating bidirectional data transfer between the computers. This solved the closed ports problem by using a publicly accessible server as an intermediary.
This architecture would allow the Client and Agent to establish outbound connections to the Relay Server, which would then forward the screen capture data from the Agent to the Client and the control commands from the Client to the Agent.
Screen Capture Implementation with DirectX
For the screen capture component, I had two main options: using WinAPI (#include <windows.h>) or leveraging DirectX‘s `IDXGIOutputDuplication` interface (#include <dxgi.h>).
I chose the DirectX approach as it would provide lower latency and better performance, which was critical for this project.
The `IDXGIOutputDuplication` interface allows direct access to the desktop surface from the GPU memory, providing significantly better performance than traditional screenshot methods.
Here’s the core function I implemented for capturing frames:
Frame ScreenCapture::capture(UINT t_timeout)
{
	spdlog::trace("{} Capturing frame with timeout: {}ms", SCR_CAP, t_timeout);

	// Check if components are initialized
	if (m_deskDupl == nullptr)
	{
		spdlog::error("{} Desktop duplication not initialized, attempting full reinitialization", SCR_CAP);
		if (!reinitializeAll())
		{
			spdlog::error("{} Full reinitialization failed, cannot capture frame", SCR_CAP);
			return Frame(0, 0);
		}
	}

	if (m_d3dContext == nullptr || m_gpuTexture == nullptr)
	{
		spdlog::error("{} D3D11 context or texture not initialized, attempting full reinitialization", SCR_CAP);
		if (!reinitializeAll())
		{
			spdlog::error("{} Full reinitialization failed, cannot capture frame", SCR_CAP);
			return Frame(0, 0);
		}
	}

	// Initialize the buffer with the correct dimensions
	auto buffer = Frame(m_width, m_height);

	DXGI_OUTDUPL_FRAME_INFO frameInfo;
	Microsoft::WRL::ComPtr<IDXGIResource> desktopResource;
	Microsoft::WRL::ComPtr<ID3D11Texture2D> acquiredTexture;

	// Acquire the next frame
	HRESULT hr = m_deskDupl->AcquireNextFrame(t_timeout, &frameInfo, &desktopResource);

	// Handle different error conditions
	if (hr == DXGI_ERROR_ACCESS_LOST)
	{
		spdlog::warn("{} Desktop duplication access lost, attempting to reinitialize", SCR_CAP);
		if (!reinitialize())
		{
			spdlog::warn("{} Simple reinitialization failed, attempting full reinitialization", SCR_CAP);
			if (!reinitializeAll())
			{
				spdlog::error("{} Full reinitialization failed after access lost", SCR_CAP);
				return Frame(0, 0);
			}
		}

		// Try again after reinitialization
		hr = m_deskDupl->AcquireNextFrame(t_timeout, &frameInfo, &desktopResource);
	}
	else if (hr == DXGI_ERROR_INVALID_CALL || hr == E_INVALIDARG)
	{
		spdlog::warn("{} Invalid call to AcquireNextFrame, attempting full reinitialization", SCR_CAP);
		if (!reinitializeAll())
		{
			spdlog::error("{} Full reinitialization failed", SCR_CAP);
			return Frame(0, 0);
		}

		// Try again after reinitialization
		hr = m_deskDupl->AcquireNextFrame(t_timeout, &frameInfo, &desktopResource);
	}
	else if (hr == DXGI_ERROR_WAIT_TIMEOUT)
	{
		// Timeout is not an error, just no new frame available
		spdlog::trace("{} Timeout waiting for next frame", SCR_CAP);
		return Frame(0, 0);
	}

	// If still failed after reinitialization attempts
	if (FAILED(hr))
	{
		spdlog::trace("{} Failed to acquire next frame, error: {:#x}", SCR_CAP, hr);
		return Frame(0, 0);
	}

	// Copy the acquired frame to our staging texture
	hr = desktopResource.As(&acquiredTexture);
	if (FAILED(hr))
	{
		spdlog::error("{} Failed to get texture from resource, error: {:#x}", SCR_CAP, hr);
		m_deskDupl->ReleaseFrame();
		return Frame(0, 0);
	}

	m_d3dContext->CopyResource(m_gpuTexture.Get(), acquiredTexture.Get());
	m_deskDupl->ReleaseFrame();

	// Map the staging texture to access the pixels
	D3D11_MAPPED_SUBRESOURCE mapped;
	hr = m_d3dContext->Map(m_gpuTexture.Get(), 0, D3D11_MAP_READ, 0, &mapped);
	if (FAILED(hr))
	{
		spdlog::error("{} Failed to map texture, error: {:#x}", SCR_CAP, hr);
		return Frame(0, 0);
	}

	// Convert BGRA to RGB
	convertBGRAtoRGB(
		static_cast<const uint8_t*>(mapped.pData),
		buffer.data.get(),
		m_width * m_height);

	m_d3dContext->Unmap(m_gpuTexture.Get(), 0);
	spdlog::trace("{} Frame captured successfully", SCR_CAP);
	return buffer;
}This implementation includes several key features:
1. Error handling and recovery – The code gracefully handles errors such as lost access to the desktop or invalid calls, attempting to reinitialize when necessary
2. Timeout management – If no new frame is available within the specified timeout, the function returns an empty frame
3. Format conversion – The captured frame is converted from BGRA (the DirectX default format) to RGB for easier processing
4. Detailed logging – Comprehensive logging helps with debugging and performance monitoring
One particularly useful aspect of this implementation is its resilience. The screen capture component can recover from various failure conditions, including when display settings change or when the system goes to sleep and wakes up again.
With this code in place, I had successfully addressed the first challenge: efficiently capturing the screen at the highest possible frame rate. The next step would be to optimize the transmission of this data – an equally critical aspect of achieving low-latency screen sharing.
Video Optimization Challenges
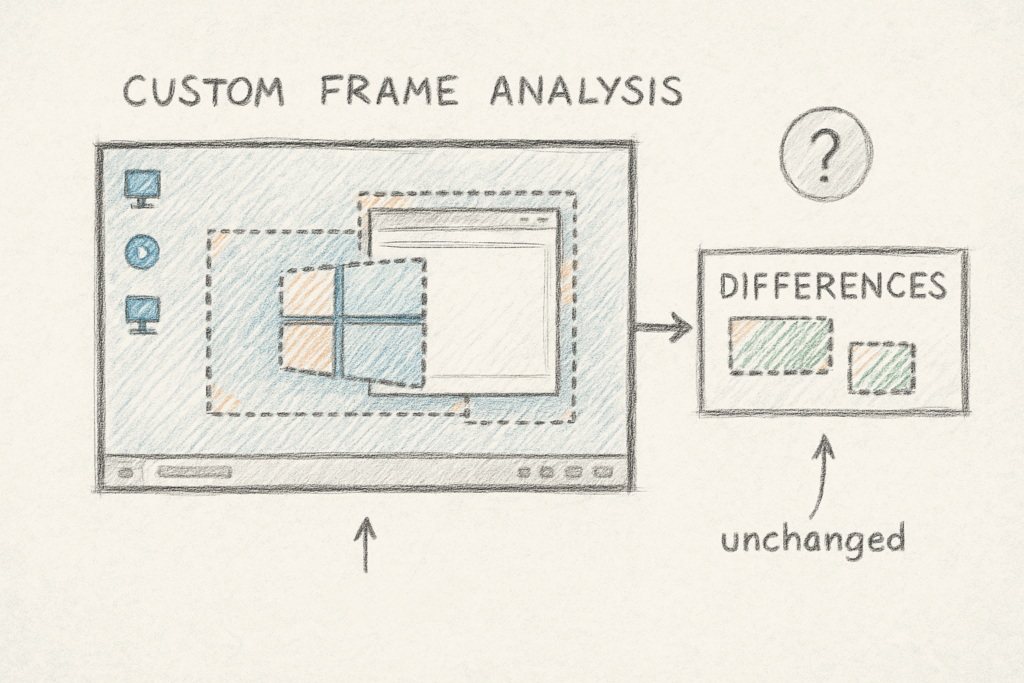
Once I had the screen capture working, I needed to solve the data transmission problem. Sending raw screenshots would be extremely bandwidth-intensive and result in unacceptable latency. My initial thought was to develop a custom solution that would analyze frames and only transmit the parts of the image that had changed between frames.
This seemed like a clever approach in theory. I spent several hours developing an algorithm that would detect differences between consecutive frames and only transmit the changed regions. I even optimized it using CUDA to leverage GPU acceleration.
However, after significant development effort, I realized I was heading in the wrong direction. My custom solution could only achieve 5-10 FPS at best, far from the smooth 30+ FPS experience I was aiming for. The algorithm was simply too CPU-intensive to meet the real-time requirements of the project.
This was a valuable lesson in not reinventing the wheel. Modern video codecs already solve this exact problem through motion estimation, inter-frame prediction, and other sophisticated techniques that have been refined over decades of research and development.
It became clear that I needed to use an established video codec that would provide efficient compression while maintaining visual quality and minimizing latency. After evaluating several options, I decided to go with HEVC (High Efficiency Video Coding, also known as H.265) for its excellent compression efficiency. I had initially considered AV1 for its superior compression, but encountered several implementation challenges that made HEVC a more practical choice for this project.
Implementing HEVC Encoding with FFmpeg
To implement the HEVC encoding, I added FFmpeg to my project via vcpkg and developed a wrapper class to handle the video encoding process. Here’s how I used the codec:
bool X265Encoder::sendFrameToCodec(const Frame& t_frame)
{
	std::lock_guard<std::mutex> lock(m_encoderMutex);
	if (av_frame_make_writable(m_avFrame) < 0)
		return false;

	const uint8_t* srcSlice[1] = { t_frame.data.get() };
	int srcStride[1] = { 3 * t_frame.width };

	// Convert from RGB24 to YUV420P.
	sws_scale(m_swsCtx, srcSlice, srcStride, 0, t_frame.height,
		m_avFrame->data, m_avFrame->linesize);

	m_avFrame->pts = m_ptsCounter++;
	int ret = avcodec_send_frame(m_codecCtx, m_avFrame);
	return ret >= 0;
}

bool X265Encoder::getVideoDataFromCodec(std::vector<uint8_t>& t_packetData)
{
	std::lock_guard<std::mutex> lock(m_encoderMutex);
	AVPacket* pkt = av_packet_alloc();
	int ret = avcodec_receive_packet(m_codecCtx, pkt);
	if (ret == 0)
	{
		t_packetData.assign(pkt->data, pkt->data + pkt->size);
		av_packet_unref(pkt);
		av_packet_free(&pkt);
		return true;
	}
	else
	{
		av_packet_free(&pkt);
		return false;
	}
}I also focused on properly configuring the codec for low-latency operation:
m_codecCtx->width = t_settings.width;
m_codecCtx->height = t_settings.height;
m_codecCtx->time_base = { 1, t_settings.fps };
m_codecCtx->framerate = { t_settings.fps, 1 };
m_codecCtx->gop_size = t_settings.fps;
m_codecCtx->max_b_frames = 0; // No B-frames for low latency.
m_codecCtx->pix_fmt = AV_PIX_FMT_YUV420P;
m_codecCtx->bit_rate = static_cast<int>(t_settings.bitrate * 1000000);

if (m_codecCtx->priv_data)
{
	av_opt_set(m_codecCtx->priv_data, "preset", "ultrafast", 0);
	av_opt_set(m_codecCtx->priv_data, "tune", "zerolatency", 0);
	av_opt_set(m_codecCtx->priv_data, "x265-params", "rc-lookahead=0", 0);
}The key settings for low latency were:
- Setting `max_b_frames` to 0 to eliminate bidirectional frames that introduce delay
- Using the “ultrafast” preset to minimize encoding time
- Applying the “zerolatency” tuning option
- Disabling lookahead with `rc-lookahead=0` to prevent the encoder from buffering frames
With these settings, the encoder would prioritize speed over compression efficiency, which was exactly what I needed for real-time screen sharing.
Troubleshooting the FFmpeg Access Violation Error
Just when I thought I had everything working, I encountered a critical issue. After reinstalling my vcpkg dependencies, my code started to crash in the FFmpeg library with the following error:
avcodec_send_frame() in function
encode_simple_internal()
->
libx265_encode_frame()
->
ff_encode_encode_cb()
->
void av_freep()
->
void av_free(void *ptr)
{
#if HAVE_ALIGNED_MALLOC
    _aligned_free(ptr); <-- HERE
#else
    free(ptr);
#endif
}

Exception has occurred: W32/0xC0000005
Unhandled exception at 0x00007FFE5A43C55C (ucrtbased.dll) in AgentApp.exe: 0xC0000005: Access violation reading location 0xFFFFFFFFFFFFFFFF.At first, I assumed there was a bug in my code. I spent several frustrating days investigating, checking for memory leaks, improper initialization, or threading issues. However, after extensive debugging, I discovered that the problem wasn’t in my code at all.
The issue stemmed from the FFmpeg library itself – specifically, how it was compiled via vcpkg on my system. The crash occurred in the memory alignment handling code, where `_aligned_free()` was being called with an invalid pointer. This was likely due to a compatibility issue between the compiled library and the specific runtime environment.
After researching the issue, I couldn’t find anyone else reporting the same problem, which made troubleshooting even more challenging. Eventually, I decided to try a different approach: I would continue using the FFmpeg headers from vcpkg for compilation, but replace the binaries with pre-compiled versions from gyan.dev.
This seemingly unorthodox solution turned out to be perfect for my situation. Not only did it resolve the crash, but it also set me up for the next optimization I would implement – hardware acceleration. The pre-compiled binaries from gyan.dev included support for hardware-accelerated encoding, which would prove critical for the project’s performance.
Hardware Acceleration Implementation
At this point, I had successfully implemented screen capture and video encoding with FFmpeg. However, I noticed a significant issue – my program was consuming 30-40% CPU usage! This was much higher than what I observed in commercial applications like AnyDesk or TeamViewer.
After some research, I discovered the problem: FFmpeg was using software encoding by default, which is CPU-intensive. The solution was to leverage hardware-accelerated encoding available on modern GPUs. This would offload the encoding work from the CPU to specialized hardware encoders on the graphics card.
I learned that FFmpeg needs to be specifically compiled with support for hardware acceleration APIs such as NVIDIA’s NVENC, AMD’s AMF, or Intel’s VPL/QSV. Fortunately, the pre-compiled binaries from gyan.dev that I was already using included support for these hardware encoders.
For the NVIDIA implementation, I configured the encoder as follows:
m_codecCtx->max_b_frames = 0;            // No B-frames for low latency.
m_codecCtx->pix_fmt = AV_PIX_FMT_NV12;   // NVENC prefers NV12 over YUV420P
m_codecCtx->bit_rate = static_cast<int>(t_settings.bitrate * 1000000); // Convert Mbps to bps.

spdlog::trace("{} Configured codec context with effective settings: {}x{}, {} fps, {} bps",
	NVENC, m_codecCtx->width, m_codecCtx->height, m_codecCtx->framerate.num, m_codecCtx->bit_rate);

// Set NVENC specific options for low latency
if (m_codecCtx->priv_data)
{
	spdlog::debug("{} Setting NVENC-specific low latency options", NVENC);

	// Use p1 preset (fastest) for lowest latency
	av_opt_set(m_codecCtx->priv_data, "preset", "p1", 0);

	// Use ultra low latency tuning
	av_opt_set(m_codecCtx->priv_data, "tune", "ull", 0);

	// Set zero latency operation (no reordering delay)
	av_opt_set_int(m_codecCtx->priv_data, "zerolatency", 1, 0);

	// Disable lookahead
	av_opt_set_int(m_codecCtx->priv_data, "rc-lookahead", 0, 0);

	// Use CBR mode for consistent bitrate
	av_opt_set_int(m_codecCtx->priv_data, "cbr", 1, 0);
}
else
{
	spdlog::warn("{} Codec private data not available, skipping NVENC-specific options", NVENC);
}The key differences from the software encoder configuration included:
- Using the `AV_PIX_FMT_NV12` pixel format, which is preferred by NVENC hardware
- Using NVENC-specific presets:
- “p1” preset for maximum speed (compared to “ultrafast” in software x265)
- “ull” (ultra-low-latency) tuning option
- Enabling “cbr” (constant bitrate) for consistent performance
I implemented similar configurations for AMD AMF and Intel VPL/QSV encoders, creating three encoder classes that could be selected based on the available hardware in the system.
It’s worth noting that different hardware encoders have their own naming conventions for presets. While software x265 uses names like “ultrafast” and “medium”, NVENC uses “p1” through “p7” (with p1 being the fastest), and the other hardware encoders have their own terminology.
Performance Optimization for Near-Zero CPU Usage
After implementing hardware acceleration, the results were dramatic. The CPU usage dropped from 30-40% to almost zero. Modern GPUs have dedicated encoding units that can handle video encoding with minimal impact on overall system performance or graphics capabilities.
This efficiency gain was exactly what I needed for a low-latency screen sharing solution that wouldn’t impact the user’s ability to perform other tasks while screen sharing was active.
For the final implementation, I added hardware detection code that would automatically select the best available encoder based on the system’s hardware. If no hardware encoding was available, it would fall back to software encoding.
Wrapping Up
Implementing hardware-accelerated encoding was crucial to this project’s success. It dramatically reduced CPU usage from 30-40% to near-zero by leveraging dedicated encoding units on modern GPUs. The solution accounts for differences between NVIDIA, AMD, and Intel encoders, with appropriate optimizations for each.
A critical aspect was proper pixel format configuration – using NV12 for hardware encoders instead of the standard YUV420P used in software encoding. Each GPU manufacturer offers its own optimization parameters that required fine-tuning to achieve the lowest latency while maintaining image quality.
The final product achieved the goal – screen sharing with near-real-time responsiveness, high visual quality, and minimal system resource usage, meeting the client’s specific requirements.
